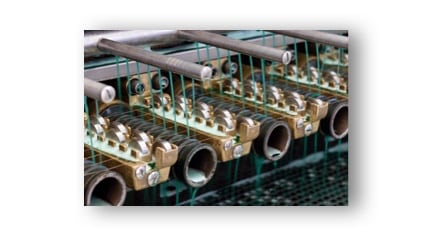
How do I properly clean and maintain my extrusion tools?
- When production stops, remove the tooling from the extrusion head before the coating material hardens.
- The correct procedure to remove the extrusion guide from the extrusion head is to cut the wire, leaving a small section inside the wire guide. This will prevent the flowing material from getting into the tool.
- To remove the tool from the extrusion head, always use a tool with a soft surface (such as nylon or wood). Tap the tool from the back and never from the front where the insert may be located. Place the tool on a safety tray when you remove it from the extrusion head.
- Once the wire guide is out of the machine, pull the wire out in the direction of the extrusion line.
- Try to remove the insulating material from the tool when it is still warm and soft. You can clean carefully with a wire brush. Avoid leaving marks on the tool body.
- When the insulating material is cold and has become hard, heat the tools in an oven with a controlled temperature (200-250°C; 392-482°F) to soften the insulation or use a fluidized bath to remove it. Never use a torch as this can seriously damage the tool structure (e.g. mounting, welding, insert).
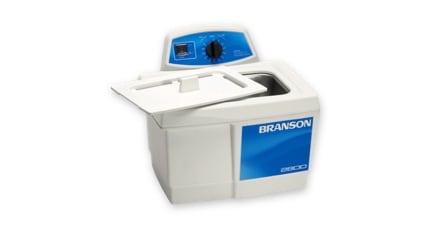
- Once the insulating material is removed, clean the extrusion tools in an ultrasonic cleaning machine using water and washing liquid.
- Dry the tool carefully, removing all watermarks and coat the tool with lubricant oil.
- Store the tool clean and lubricated (e.g. in a wooden case, tubes) for future use.
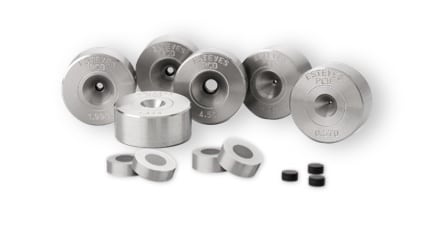
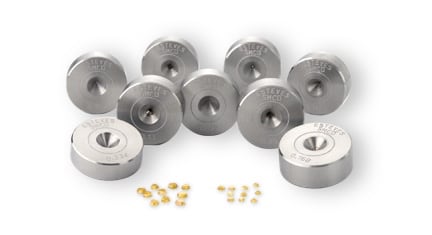
How do I choose the right material for my tip?
- Use wire guides (tips) with diamond inserts for diameters smaller than .075” (1.90 mm).
- Better consistency of the cable is obtained when using a diamond insert. The concentricity of the cable is maintained longer because the wire guide is subjected to less wear.
- The lifetime of a wire guide with a diamond insert is approximately 20 times or more than a wire guide with a TC insert or solid carbide.
- There are two clear advantages of using a diamond insert versus TC tools:
- Tool cost savings (per length of coating) of 25% can be achieved in a short period of time. Less tool inventory is needed because of the longer tool life.
- Longer life will mean less machine downtime required for changeovers.
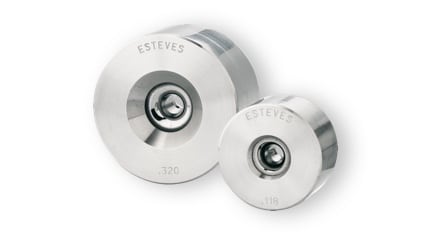
How do I inspect my extrusion tip?
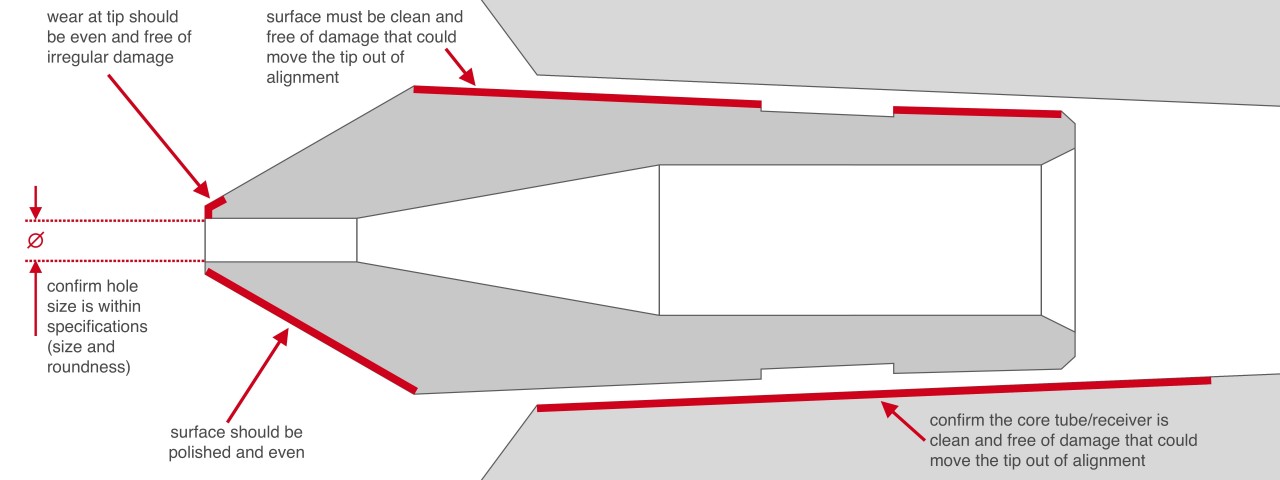
- Follow the removal and cleaning procedure mentioned in “How do I properly clean and maintain my extrusion tools?”
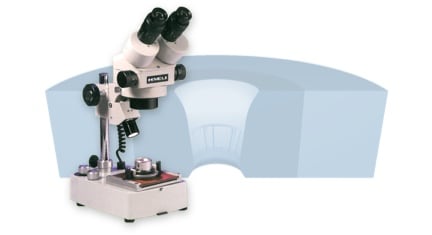
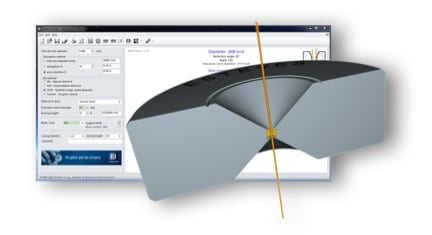
- Inspect the extrusion tip diameter (A) using a check pin. Confirm the hole size is within specifications. You may want to use a microscope to check if the hole is still round.
- Inspect the end of tip (B). The wear should be even and free of irregular damage
- “Nose” section (C) should be polished and even
- “Tail” section (D) must be clean and fee of damage that could move the tip out of alignment
- Confirm the core tube/receiver (E) is clean and free of damage that could move the tip out of alignment (the core tube/receiver is the holder that holds the extrusion tip)